

How to Deflicker a Timelapse
So, You know when you come back from a shoot, and you render your Timelapse, and the video looks like a strobe from a club? That flashing is called flickering, which it's caused by a small adjustment of the Aperture of your camera and in this tutorial, I want to show you a couple of ways to avoid and fix it!
Ok, so... during a day Timelapse, so no light changes during the time you are shooting, If you own a manual lens you should not have any problems, otherwise the best way to reduce flicker, it's to shoot with a long exposure, in my experience from 0'5 sec is good. Also, there is the technique where can you detached the lens, so the camera can't send the signal to the lens, and the Diagram won't move, but I've rarely used it.
When shooting Sunset or Sunrise, it gets a bit more complicated, there are few ways to shoot a 'Holy Grail' which is a transition between day to night or Vice Versa,
The "standard" way is in Manual, so every time the light on the scene changes, you adjust the Shutter speed and the ISO, I wouldn't touch the Aperture, cos you will then introduce vignette which is very difficult to fix.
Another way is shooting in Aperture Priority, or AV, this is pretty easy as the camera is doing all the changes. Depending on the camera you have, this method can be more smooth or less smooth than the manual. I shoot on Sonys, and the smoothness with this method is pretty incredible.. (between you and me, I haven't shot a manual Sunset/Sunrise for at least a year) I think the new Nikons as well are great!
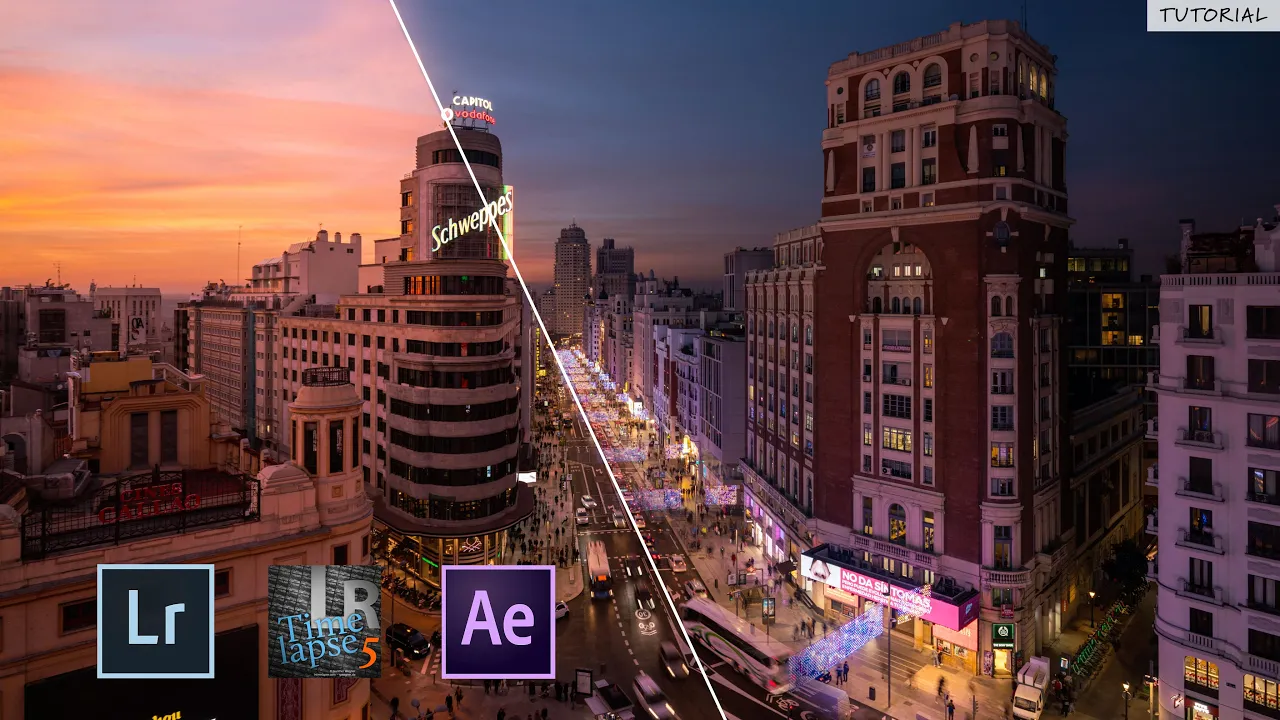
So, once you have your Timelapse done, you need Three software, Lightroom, After Effects and LRTimelapse and here's how I process my Timelapse.
For the Timelapse during the day, once you have your sequence imported to Lightroom, you open LRT and create two keyframes, one at the beginning and one at the end is enough, save it, go back to Lightroom and edit the first and last photos, save the Metadata and come back to LRT, reload the sequence, click Auto smooth transition, next, click deflicker, save it and that's it!
Now, open After Effect, create a composition with the TImelapse sequence and render it with your setting. (If you want to know what codec and settings I use to render my clip let me know in the comments and I will make a video about that)
Now that you have your video rendered, check if there's any flickering, if there isn't well done, LRT worked perfectly, if you still see it, you can change the setting on the De-flickering bar on LRT or you can use a plug-in called FlickerFree, It's a bit expensive but so worth it trust me.. you can download the Demo version and try it out on sequence you think were ruined by the flicker.
So, apply it on the sequence, select Time-lapse on the effects section and render it! DONE! Easy Peasy!
For the Sunset/Sunrise Timelapse more or less the way of De-Flicker is the same, You only need to follow a different path on LRT, for the manual sequence, click on Keyframe Wizard and then Holy Grail Wizard, save and edit the Keyframe Photos on Lightroom, save the Metadata, reload on LRT and click Auto Transition and save it.
For the AV sequence, you do the same as the daylight Timelapse, but instead of creating 2 Keyframes, it is best to create at least 5 as the light and colours are changing during your sequence.
Then on After Effect, you render the video and again, if LRT wasn't perfect add the Flicker-free Plug-in and that's it!
So, this is how I normally De-flicker a Timelapse, if you want to see the in-dept tutorials for LRT, here the videos made by Gunther which are very well done!
https://lrtimelapse.com/tutorial/
I hope this tutorial will help you to take your TImelapse to the next level! Of course If you have any questions, please leave me a comment below,
Thank you so much for reading!
Follow me on Instagram @mattiabicchi
Check out my Timelapse gear: https://kit.com/MattiaBicchi