
MAKE BETTER MILKY WAY TIMELAPSE
INTRO
Hey, what’s up welcome back! Milky Way Core season is finally here! So, today I want to share 8 tips plus a nice extra at the end, for shooting a timelapse of the Milky Way.
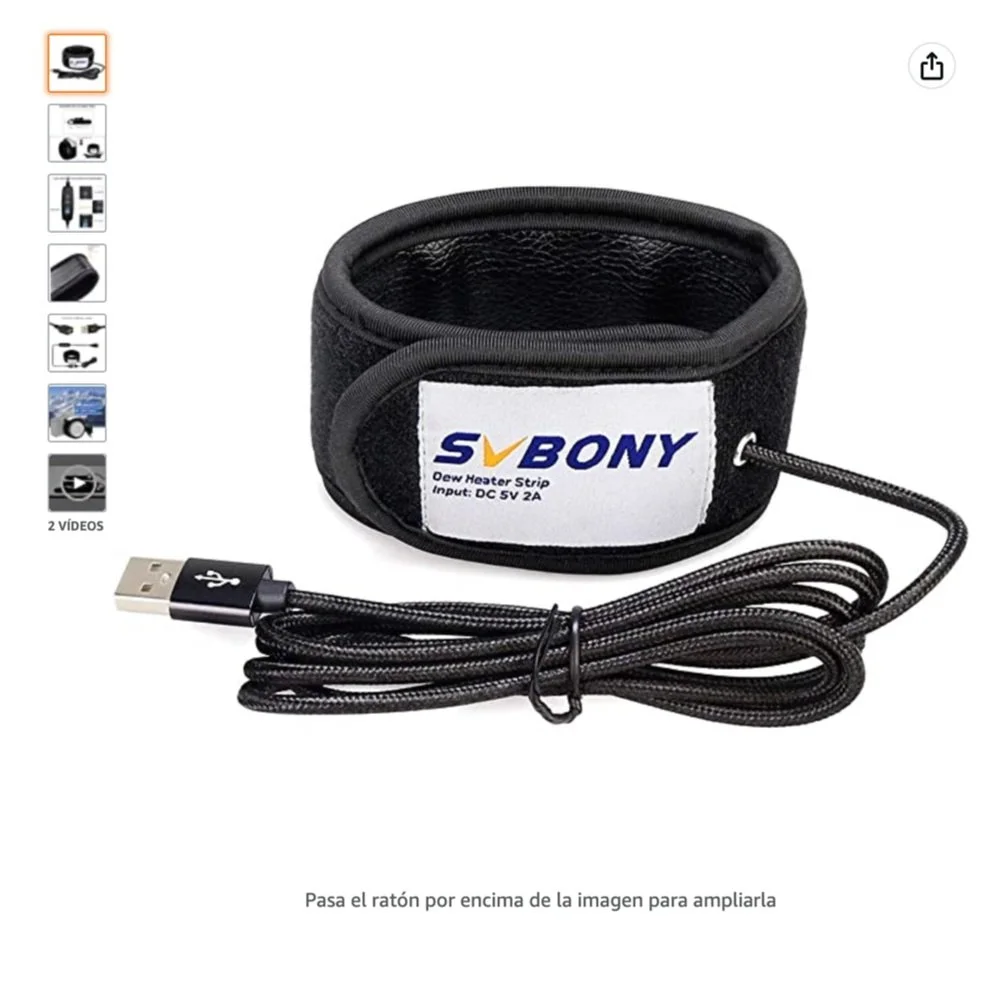
TIP 1: USE A LENS HEATER
If you're shooting in a humid area, I recommend using a lens heater to prevent your lens from fogging up. The last thing you want is for your lens to be covered in moisture and ruin your shot. It happens to me a lot of times and it sucks! So, You can get a USB lens heater or something like the LensMuff, which it uses up to three hands warmer. Or if you don't want to spend money cutting a sock in half and putting it inside a hand warmer, it will work.

TIP 2: USE A STURDY TRIPOD
There's nothing worse than blurry frames in your Milky Way timelapse, so use a sturdy tripod to prevent camera shake from the wind. You'll need to keep your camera in the same position for a few hours, so a solid tripod is crucial.

TIP 3: PLAN YOUR TIMELAPSE
Before heading out, plan your timelapse. I usually use PhotoPills to check when and where is the best time to shoot the Milky Way. Check the Dark Sky Map to find a location that is far enough from light pollution, and then check the weather forecast. If it's cloudy, you'll be wasting your time.

PhotoPills

Dark Sky Map
TIP 4: USE A FAST LENS
When shooting the Milky Way, you'll want to use a fast lens with a wide aperture. A lens with an aperture of at least f/2.8 or wider will allow more light in and help you capture the details of the Milky Way.

Sigma 14-24mm f/2.8

Samyang 24mm f/2.8
TIP 5: AVOID FLASHING LIGHTS
Something that I hate seeing on my timelapse is flashlights, from other photographers, from cars nearby or for my mistakes. When shooting Milky Way timelapse, try to stay away from the streets, and if you can, go shoot during the week instead of the weekend to avoid light painters, photographers, or other people walking with head torches.

TIP 6: USE THE RIGHT SHUTTER SPEED
Depending on what lens you're using, you need to be careful of star trails. Use the 500 rule or check PhotoPills to determine the maximum shutter speed you can use without getting star trails.
i.e. 500/14mm (Focal Lens) = 36 seconds of Exposure
TIP 7: SHOOT WHEN THE CRESCENT MOON IS OUT
If you shoot a timelapse when the crescent moon is rising or setting, it will make the timelapse even more dynamic, as you'll see the moon's shadow moving across your timelapse. It's my favourite time to shoot the Milky Way!


Tip 8: BRING WARM CLOTHING
Lastly, don't forget that you'll be staying outside for hours at night, so it can get pretty chilly, especially if you're in a remote location. Make sure to bring warm clothing to keep yourself comfortable during the night. If you're cold, you won't enjoy shooting the timelapse.

EXTRA TIP: USE ISO INVARIANCE
If your camera has ISO invariance, try using a low ISO and get extra exposure in post-production. This will help you get more details and achieve better exposure in your timelapse. If you want to learn more about ISO invariance, check out Alyn Wallace’s video or Javier Rosaro’s if you speak Spanish. I'll link them in the description.

Alyn Wallace

Javier Rosano
So, there you have it, 9 tips for shooting a timelapse of the Milky Way.
I hope these tips were helpful, and that you're feeling inspired to go out and make a stunning timelapse of the night sky.
If you have any other tips to include, write them in the comments below.
Thanks for reading and I’ll see you in the next one!
CIAO CIAO

Do you want to learn how to make gorgeous timelapse movies? Then this is the book for you!
I’ve poured my 10+ years of experience as a professional timelapse photographer into this book so that you can quickly and easily learn how to create beautiful timelapse and hyperlapse movies of your own. If you’re experienced, then I’m confident that my book will help you improve your current timelapse techniques, so that you can develop your passion into a lucrative side hustle, or even a full-time career.
With this book you will learn how to:
plan the perfect shot
pick the right equipment
shoot both timelapses and hyperlapses
master the timelapse holy grail (sunrise and sunset)
use motion control gear to add cinematic movement to your footage
perfect your footage using Adobe Lightroom, After Effects and LRTimelapse
prepare timelapse and hyperlapse movies for client delivery
Whether you’re a beginner or an experienced timelapser, this book will help you master the basics, and then build you up to use the advanced methods the professionals have developed to create those crispy timelapse and hyperlapse movies that both amaze and sell.

Vuoi imparare a realizzare splendidi video in timelapse? Allora questo è il libro che fa per te!
Ho riversato in questo libro i miei oltre 10 anni di esperienza come fotografo professionista di timelapse, in modo che tu possa imparare rapidamente e facilmente come creare bellissimi timelapse e hyperlapse tutti tuoi. Se già hai esperienza, sono fiducioso che il mio libro ti aiuterà a migliorare il tuo livello tecnico attuale di timelapse, in modo che tu possa far diventare la tua passione in un lavoro secondario oppure addirittura come il tuo lavoro principale.
Imparerai come:
Pianificare un video perfetto
Scegliere l’attrezzatura giusta
Scattare sia timelapse che hyperlapse
Padroneggiare l’holy grail timelapse (alba e tramonto)
Usare attrezzature motion control per aggiungere movimento cinematografico al tuo video
Perfezionare I tuoi video utilizzando Adobe Lightroom, After Effects e LRTimelapse
Preparare timelapse e hyperlapse video per la consegna al cliente
Che tu sia un principiante o un timelapser esperto, questo libro ti aiuterà a padroneggiare le basi e a iniziare a utilizzare i metodi avanzati che i professionisti hanno sviluppato per creare quei timelapse e hyperlapse nitidi che stupiscono e vendono.

¿Quieres aprender a hacer hermosos timelapse? ¡Entonces este es el libro para ti!
He invertido mis más de 10 años de experiencia como fotógrafo profesional de timelapse en este libro para que puedas aprender rápido y fácilmente a crear espectacular timelapse e hyperlapse por tu cuenta. Si tiene experiencia, estoy seguro de que mi libro te ayudará a mejorar tu técnicas de timelapse actuales, de modo que pueda convertir tu pasión en un lucrativo ajetreo secundario, o incluso en una carrera.
Aprenderás como:
Planifica un timelapse perfecto
Elijr el equipo adecuado
Disparar tanto en timelapse como en hyperlapse
Dominar el timelapse del ‘holy grail’ (amanecer y atardecer)
Usar equipo de control de movimiento para agregar movimiento cinematográfico a su video
Refina tus videos con Adobe Lightroom, After Effects y LRTimelapse
Preparar timelapse e hyperlapse para la entrega al cliente
Tanto si eres un principiante o un timelapser con experiencia, este libro te ayudará a dominar los conceptos básicos y comenzar a utilizar los métodos avanzados que los profesionales han desarrollado para crear esos timelapses nítidos y hyperlapses que sorprenden y venden.
Testimonials
“Libro super recomendable para iniciarse en el mundo del timelapse. Además hay tips interesantes muy útiles!”
“Muy practico”
“Es como tener una pequeña Biblia a la que recurrir en búsqueda de respuestas, jajaja“