
BASIC gear to start doing Timelapse
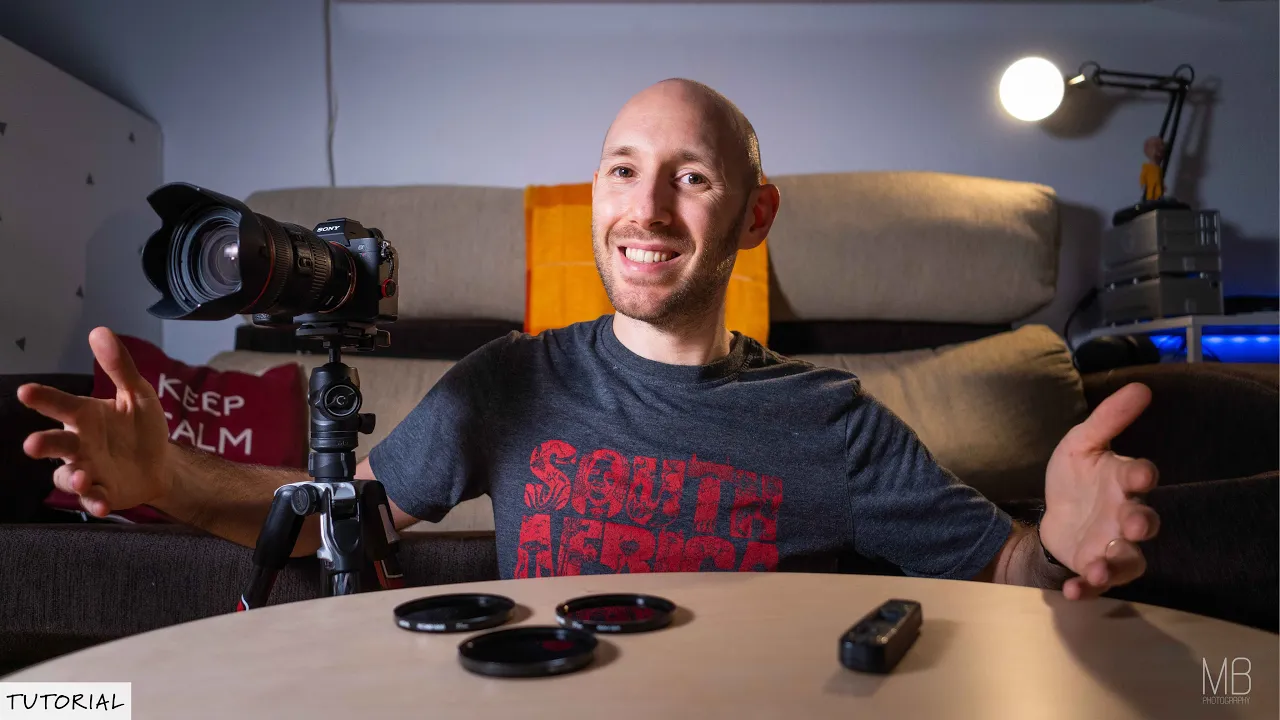
What’s up guys, welcome back to another Post!
Today I‘ll go through the basic Kit you need to start shooting Timelapse.
Nowadays you can make Timelapse with almost anything that has a camera, so if you want to try it out for the first time, just take your phone and use the Timelapse option or download an app that can do it! There are tons out there!
Put your phone in a place where it won’t move and let it run for 10 minutes! And voila! you have a Timelapse! :)
Now, the quality of Timelapse made with a phone is not the best, if you want a high-resolution Timelapse, you need a proper camera. Although Morten made an incredible Timelapse film by only using a phone, so you could archive pretty cool Timelapse with a phone these days; Also to make it a bit more ‘professional’ there is a camera app from Moment that has a blur effect in the Timelapse mode which is pretty incredible!
So gear n.1 a DSLR or a Mirrorless.
You can choose the camera you prefer; any type or brand would do the trick, as long as they can be controlled with a remote control or if they have an Intervalometer built-in.
My cameras of choice are the Sony A7RIII and A7III. They have an internal intervalometer that works pretty well!
Which takes us to gear n.2 an Intervalometer.
An intervalometer is essential for shooting Timelapse, it’s the tool that controls how ofter and how many pictures the camera takes!
If you have a new camera, you might have it already on it; otherwise, you can buy on Amazon an external intervalometer that connects to your camera. The price depends on the quality and on the brand, but in my experience, a cheap one does the same job as an expensive one. I bought mine in Valencia for 50€ in 2011 and is still working!


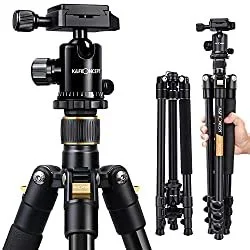
Now that you have a camera and Intervalometer, you need gear n.3 a Tripod.
Don’t go too cheap on Tripod. Forget the plastic one at 10€, go for aluminium if you can, or if you have the budget, buy a Carbon fibre Tripod.
You need a sturdy tripod to shoot timelapse because any wind shakes, will make your Timelapse a mess, especially if you are shooting long exposure to get a smooth movement of people and cars,


the last thing you need, gear n.4 an ND Filter
A better way to shoot Timelapse is to add an ND filter in front of your lens, these filters are basically ‘sunglass’ for your lenses, which allow you to lower the shutter speed and create a nice and smooth blur on the subject that moves on your Time-lapse during the day, like people, cars and water.
Also with ND Filters, you shouldn’t go too cheap, because a cheap ND Filter can reduce the quality of your video and introduce weird effect and colours shift, so buy something good.
I really like the Hoya ND Pro, they are not too expensive and the quality is pretty impressive! I will link them in the description below if you want to check it out.

And basically, that’s it! You don’t need anything else to start shoot a Timelapse!
If you want to, check out my Patreon page where I do monthly Q&A and show you my Timelapse post-processing more in details.
Of Course, if you have any question regarding the filters, feel free to ask me by leaving a comment below or through my social media.
Don't forget to say hi on my Instagram Account and subscribe to my YouTube channel!
I'll see you in the next post!
Thanks for reading!