
MY TIMELAPSE DATA WORKFLOW
It has been a while! In this blog post, I want to share with you my Timelapse Data Workflow, from the moment I start shooting to the moment I archive the final Timelapse.
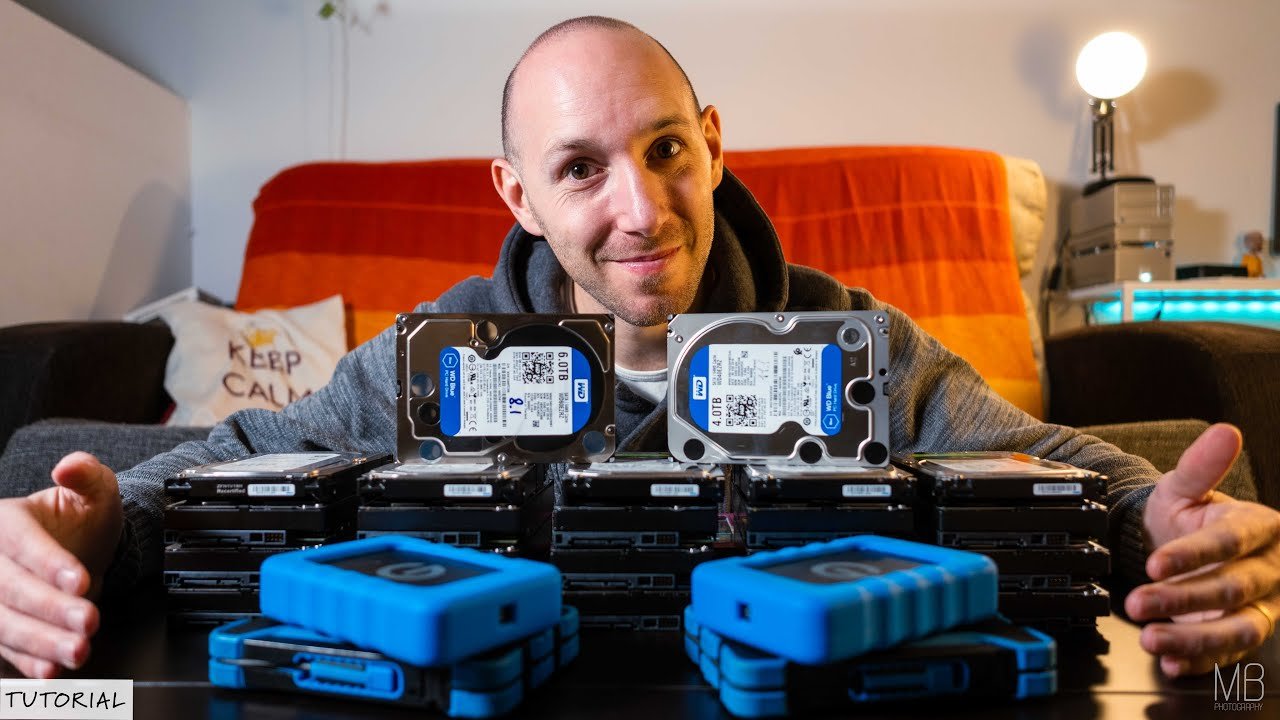
So first of all, something I need to get very clear! if you have one copy of your work, you don’t have anything, HDs will eventually fail, so please backup your S%$T! Only a few days ago, a brand-new HD failed on me, as I had the backup, I didn’t lose anything.
Back when I started shoot TL in 2010, I didn’t have a clue on how to storage my footage, back-ups or any sort of data workflow, as you might do right now, I went online and research a bunch of blog post and videos on how to do it.
At the time there weren’t many videos on data management, and basically none specifically on Timelapse, So I took some ideas from different videos and put together a system based on my needs.
I definitely made few mistakes and learnt from it, one time I had two HD, (the main and the back up) attached to the same USB Hub. One day I plugged the wrong DC Cable to the hub and puff! everything went dark, I almost lost 6 months of work, including clients work, was a nightmare! Likely I went to a Data Recovery centre and they were able to save 90% of the files. But man that was bloody scary!
After that experience, I completely stopped using USB Hub for my Hard Drive.
My workflow changes a bit depending on where I’m shooting, from home or abroad.
When a client sends me somewhere that is not the city where I live, I bring with me my laptop, lots of 128GB SD Cards, and 6 Hard Drives 2 G-Tech EV of 2TB and 2 of 1TB and also 2 2TB WD Passport. As I am using Sony I shoot with 2 SD Card and use the second card as back up, so if something goes wrong on the first one I have everything safe in the other.

At the end of every day, I would take out the SD Cards and Off-load the RAW’s to one of the Drive, through Lightroom.
Ah! while shooting I create a new folder on the camera for every TL, so when I transfer it to the HD I don’t have to look for the first and the last photos of each TL.
I rename the folders, by Year, month, day, location, TL, TL Raw, TL Vid, 8K, 4K and Once it’s done, I’ll make the exact copy on the second Drive using Carbon Copy Cloner, which is a software that helps me reduce file corruption and make me feel safe doing the backups.


#block-yui_3_17_2_1_1576761331946_27091 .sqs-gallery-block-grid .sqs-gallery-design-grid { margin-right: -7px; }#block-yui_3_17_2_1_1576761331946_27091 .sqs-gallery-block-grid .sqs-gallery-design-grid-slide .margin-wrapper { margin-right: 7px; margin-bottom: 7px; }
Now that I have 2 copies, One comes with me all the time and the second stay in the hotel. so if anything happens to me, I have a copy in my room, if anything happens at the hotel, I have a copy with me.
I also, format only one SD Card, that I will use it again the next day and store the second SD Card upside-down on the Card Holder. Same when I fly back, one Hard Drive with me the other one inside my checked-in luggage.
Once the shoot is over and I get back to my studio ready to start the editing, I work with three Hard Drives, the first one is the G-Tech EV Dock, where I put the HD from the shoot and transfer everything to my main HD the G-Tech G-Raid. once is everything in place, I will backUp everything on the third HD the G-Drive and start working on the Timelapse, Carbon Copy Cloner is doing a backup every 4 hours.


#block-yui_3_17_2_1_1576761331946_42279 .sqs-gallery-block-grid .sqs-gallery-design-grid { margin-right: -6px; }#block-yui_3_17_2_1_1576761331946_42279 .sqs-gallery-block-grid .sqs-gallery-design-grid-slide .margin-wrapper { margin-right: 6px; margin-bottom: 6px; }
Only when the final videos are done and delivered to the client I will format the Portable HD for the next project.
Now that everything is done, it’s time to archive, I use two internal HD, normally the WD 4TB or 6TB. I transfer my work on one of them and then do the exact copy with Carbon Copy Cloner and at the end, I store it, when it possible, in two different locations.
I also make a third BackUp of only the video files, not the Raw, on a WD MyCloud, so I can get access to these videos wherever I am.
If instead, I am shooting where I live, I would transfer every day from the SD to the main HD. and the rest would be basically the same.
And Basically that’s it! This is how I manage every TL Shoot I do!

So, I hope this was helpful and made a bit clear TimeLapse data management for you.
Of course, if you have any questions regarding this tutorial, feel free to ask me by leaving a comment below or through my social media.
Don't forget to say hi on my Instagram Account and subscribe to my YouTube channel!
I'll see you in the next post!
Thanks for reading!